
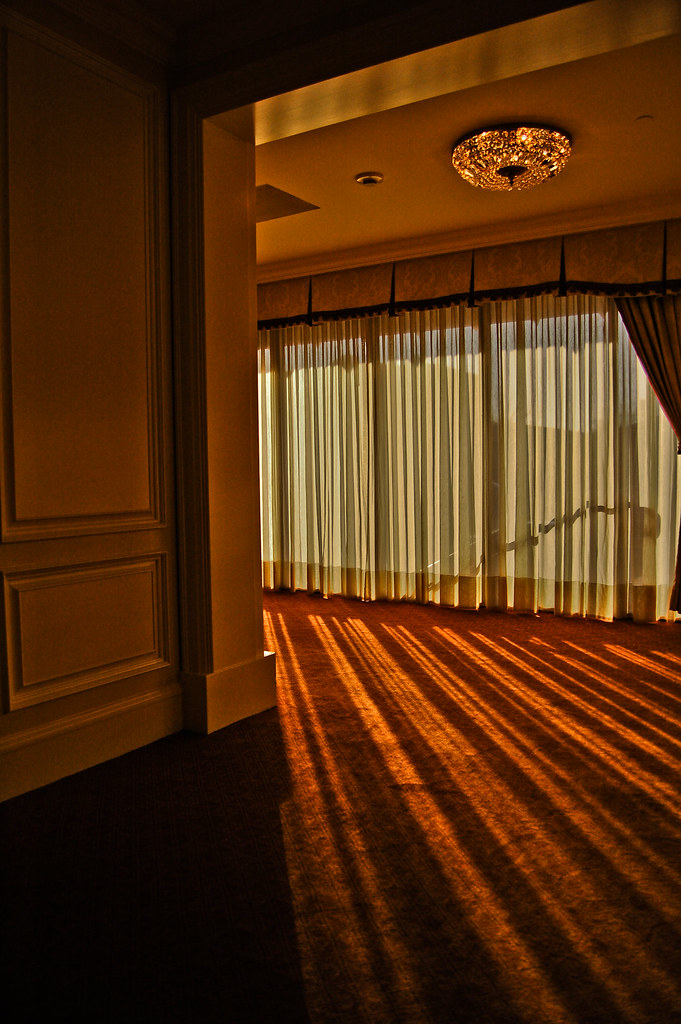
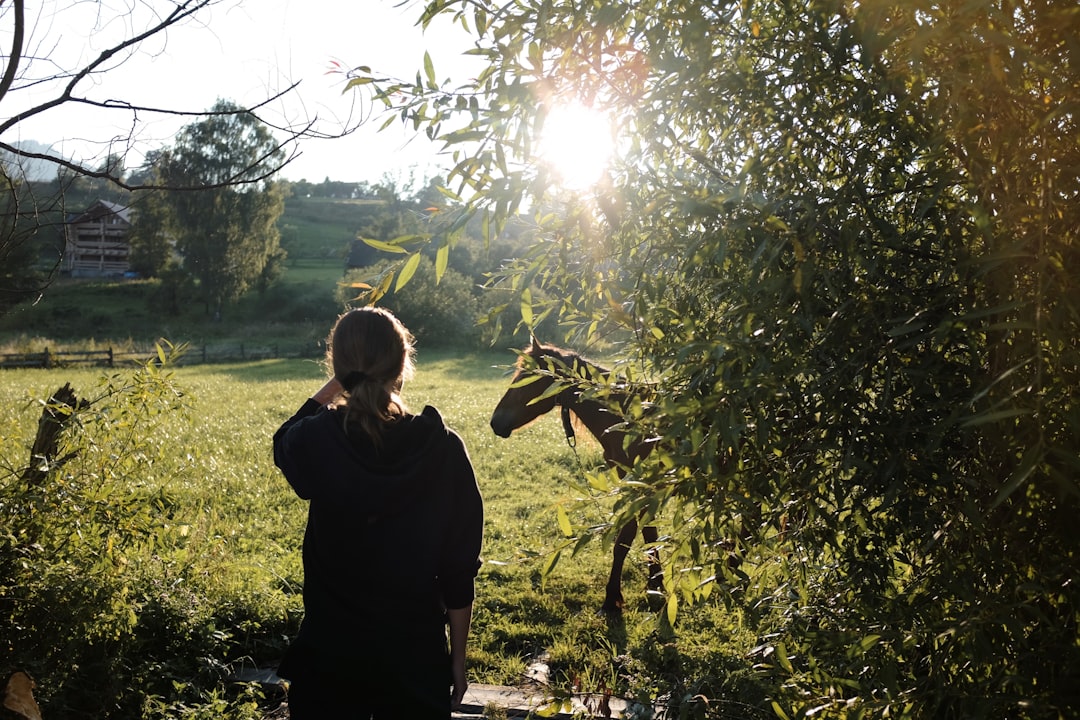
The Golden Hour Window Changes Everything

Professional photographers know that the hour after sunrise and before sunset creates the most flattering light possible. This soft, warm illumination eliminates harsh shadows and gives skin a natural glow that even expensive studio equipment struggles to match. Wedding photographers report that 85% of their best shots happen during these narrow time windows. The low angle of the sun creates what experts call “directional light” – it sculpts faces and landscapes with gentle shadows that add depth without being unflattering. What’s fascinating is that this light quality lasts exactly 60-90 minutes depending on your latitude, making timing absolutely crucial for professional results.
Bouncing Light Off White Surfaces Creates Magic

Every cinematographer worth their salt carries foam core boards or white sheets to redirect natural light where they need it most. This technique, called “bouncing,” softens harsh sunlight and fills in ugly shadows that would otherwise ruin a shot. Interior designers use the same principle when they paint walls white – it reflects 80-90% of available light throughout a room. Professional portrait photographers position white reflectors opposite their main light source to create what’s known as “wrap-around lighting.” The result is even illumination that makes subjects look radiant instead of flat. Think of it like adding a second, gentler sun that eliminates the dramatic shadows that scream “amateur hour.”
The 45-Degree Rule Pros Swear By

Positioning your main light source at a 45-degree angle above and to the side of your subject creates the most universally flattering illumination pattern. This technique, developed in Hollywood’s golden age, produces what lighting designers call “Rembrandt lighting” – named after the master painter who used this exact angle in his portraits. The setup creates a small triangle of light on the shadowed side of the face, adding dimension without harsh contrast. Professional headshot photographers charge $500-2000 per session and this single positioning trick accounts for much of their success. Modern LED panels and softboxes make achieving this angle easier than ever, but the principle remains unchanged since the 1940s.
Diffusion Transforms Harsh Light Into Silk
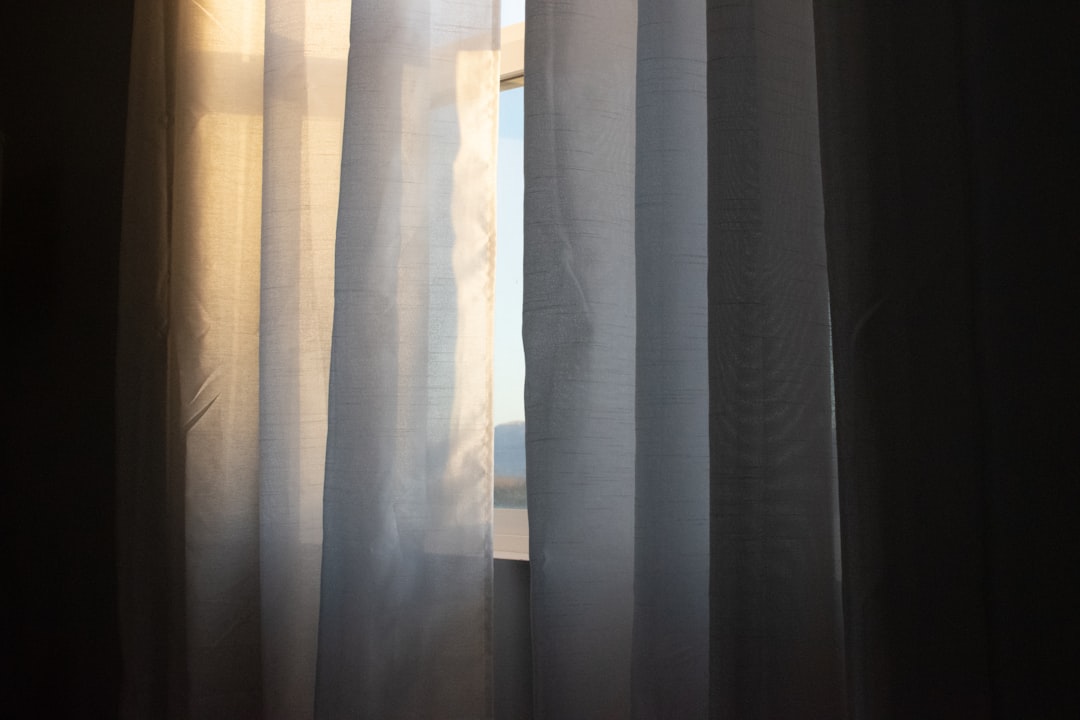
Professional lighting techs never use direct, hard light sources – they always diffuse the beam through fabric, paper, or specialized materials. Shower curtains, white bedsheets, and parchment paper all work as budget diffusion materials that soften harsh shadows. High-end softboxes and umbrellas use the same principle but with materials engineered for color accuracy and durability. The larger the diffusion surface, the softer the light becomes – which is why professional studios use massive silk screens that cost thousands of dollars. Even smartphone photographers can improve their results dramatically by shooting through a white t-shirt or tissue paper when direct sunlight is too harsh.
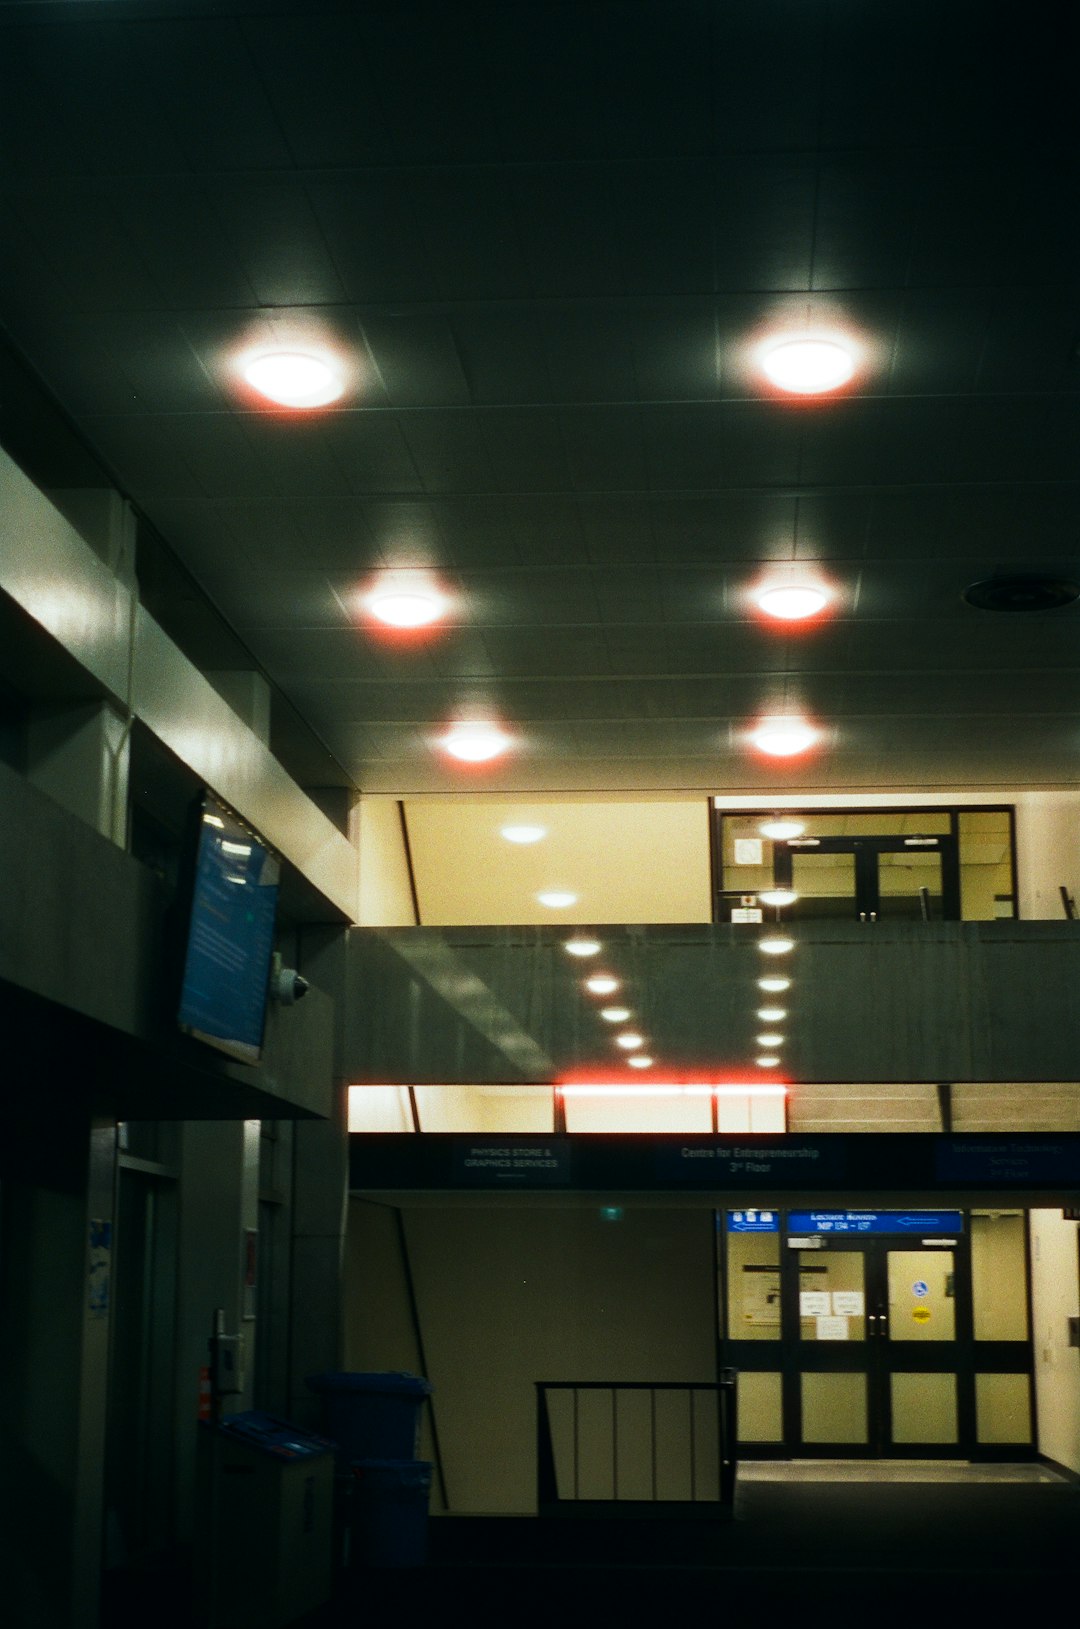
Multiple Light Sources Eliminate Amateur Mistakes
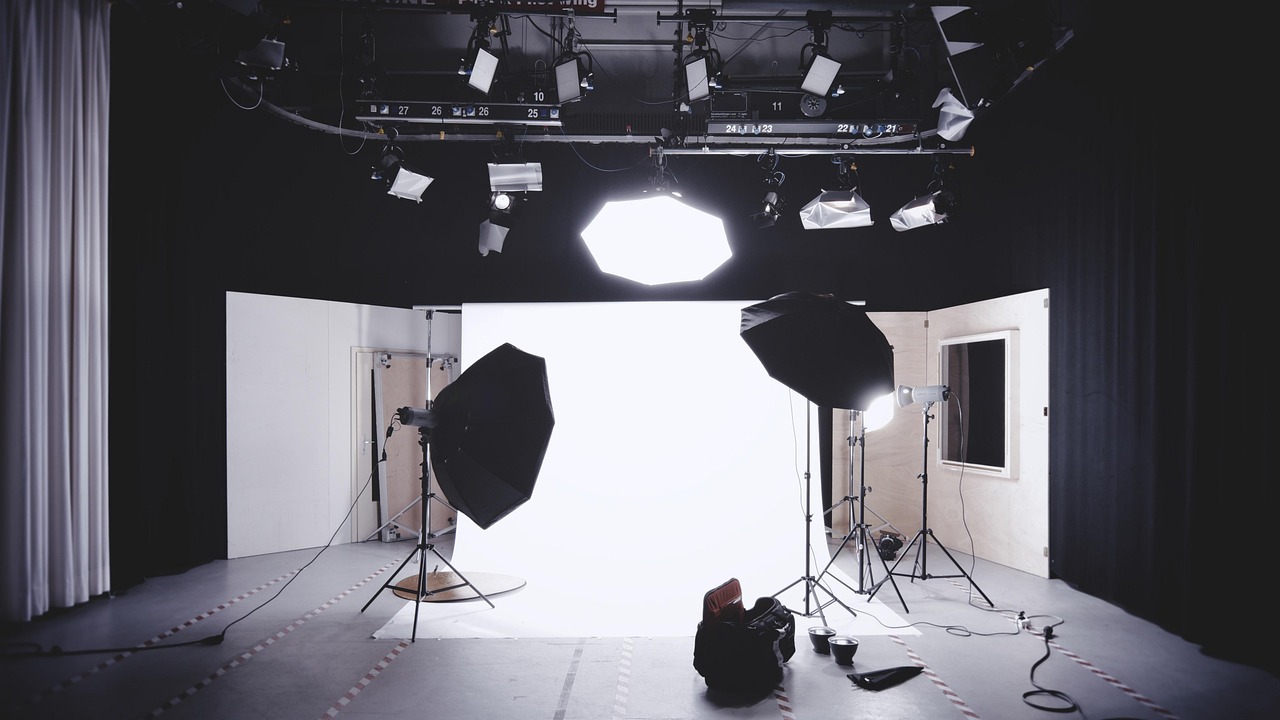
Single-light setups create obvious shadows and uneven exposure that immediately identify amateur work to trained eyes. Professional photographers use a minimum of three light sources: key light, fill light, and background light to create depth and dimension. The “three-point lighting” system, standard in film and television since the 1930s, ensures subjects separate visually from their backgrounds. Even reality TV shows with tiny budgets use this basic setup because it makes everyone look more attractive on camera. Modern LED technology has made multiple light setups affordable – a basic three-light kit costs under $300 today versus thousands just a decade ago.
Color Temperature Matching Separates Pros From Amateurs

Professional photographers obsess over color temperature because mixed lighting creates that sickly green or orange tint that ruins otherwise perfect shots. Daylight measures 5600K, while standard tungsten bulbs run at 3200K – mixing these sources without correction creates color casts that scream “amateur.” Modern cameras include white balance settings, but pros use color temperature meters that cost $400-800 to ensure perfect accuracy. LED lights now offer adjustable color temperature from 2700K to 6500K, allowing photographers to match any ambient light condition. The difference between professional and amateur work often comes down to this single technical detail that most people never notice consciously but always feel.
Negative Fill Creates Dramatic Professional Contrast
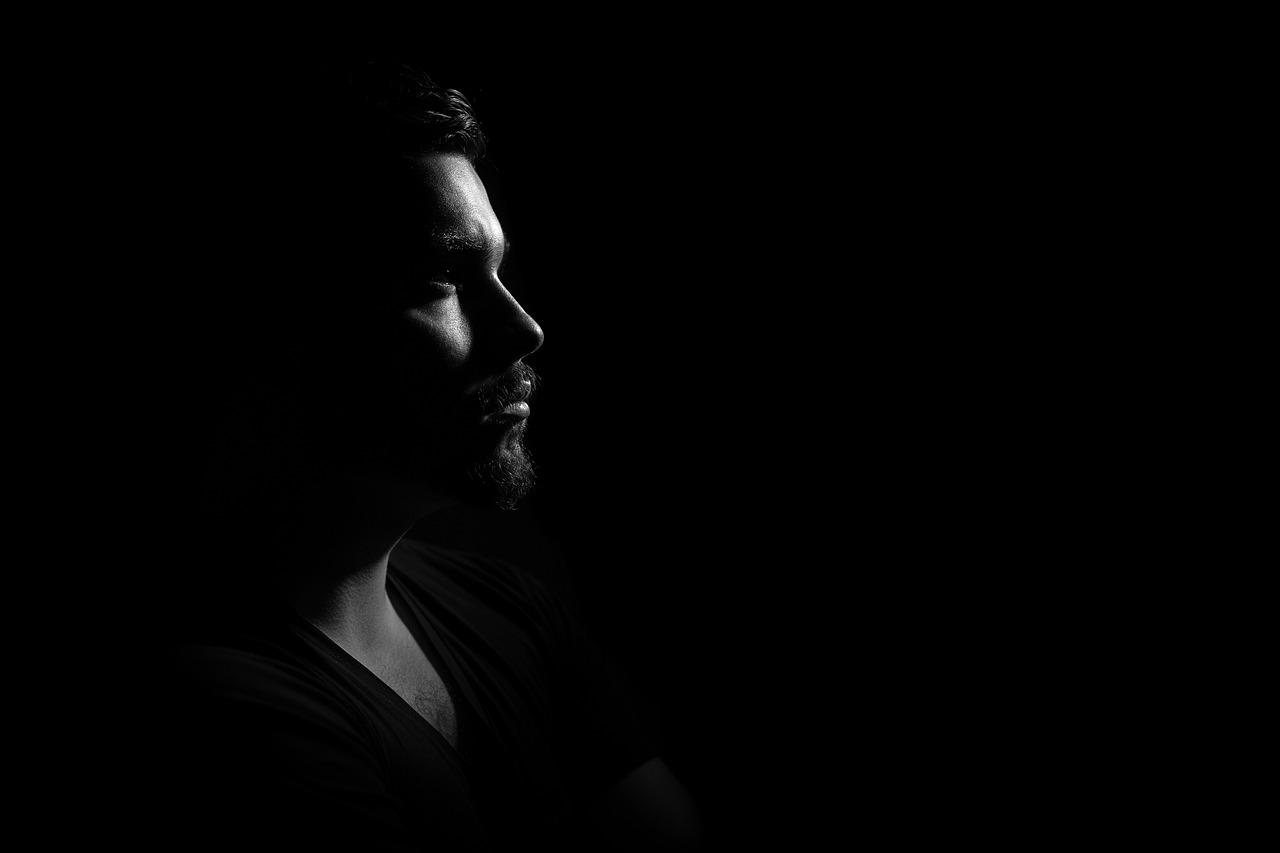
While most amateurs try to eliminate all shadows, professionals strategically use “negative fill” – dark surfaces that absorb light and create controlled shadows. Black foam core, dark fabric, or even the photographer’s own body can block reflected light and create more dramatic, sculpted lighting. Fashion photographers use this technique to create the moody, high-contrast images that define luxury brand advertising. The technique requires understanding how light bounces and reflects in three-dimensional space – something that separates professional lighting designers from casual shooters. Negative fill costs nothing but creates lighting effects that would be impossible to achieve with additional light sources alone.
Practical Lights Add Believable Depth
Professionals always include “practical lights” – visible light sources within the frame like lamps, candles, or windows – to make artificial lighting look natural and believable. These sources don’t provide the main illumination but create visual anchors that explain where the light is supposedly coming from. Movie sets use practicals extensively; even when the actual lighting comes from massive studio fixtures outside the frame, table lamps and windows sell the illusion. Interior photographers boost practical light sources with hidden strobes or continuous lights to make them appear brighter than they actually are. This layering technique creates the rich, complex lighting that makes professional work look effortless and natural instead of obviously lit.
Light Falloff Control Shapes Professional Images
The way light diminishes with distance – called “falloff” – is something professionals control precisely to direct viewers’ attention where they want it. Close light sources create rapid falloff, keeping backgrounds dark while subjects stay bright. Distant light sources create even illumination across the entire scene. Professional portrait photographers position lights at specific distances to control exactly how much of the background appears in their final images. This technique requires understanding the inverse square law of light, but the practical application is simple: closer lights create more dramatic effects, while distant lights create even, documentary-style illumination. The difference between a $50 headshot and a $500 one often comes down to this falloff control.
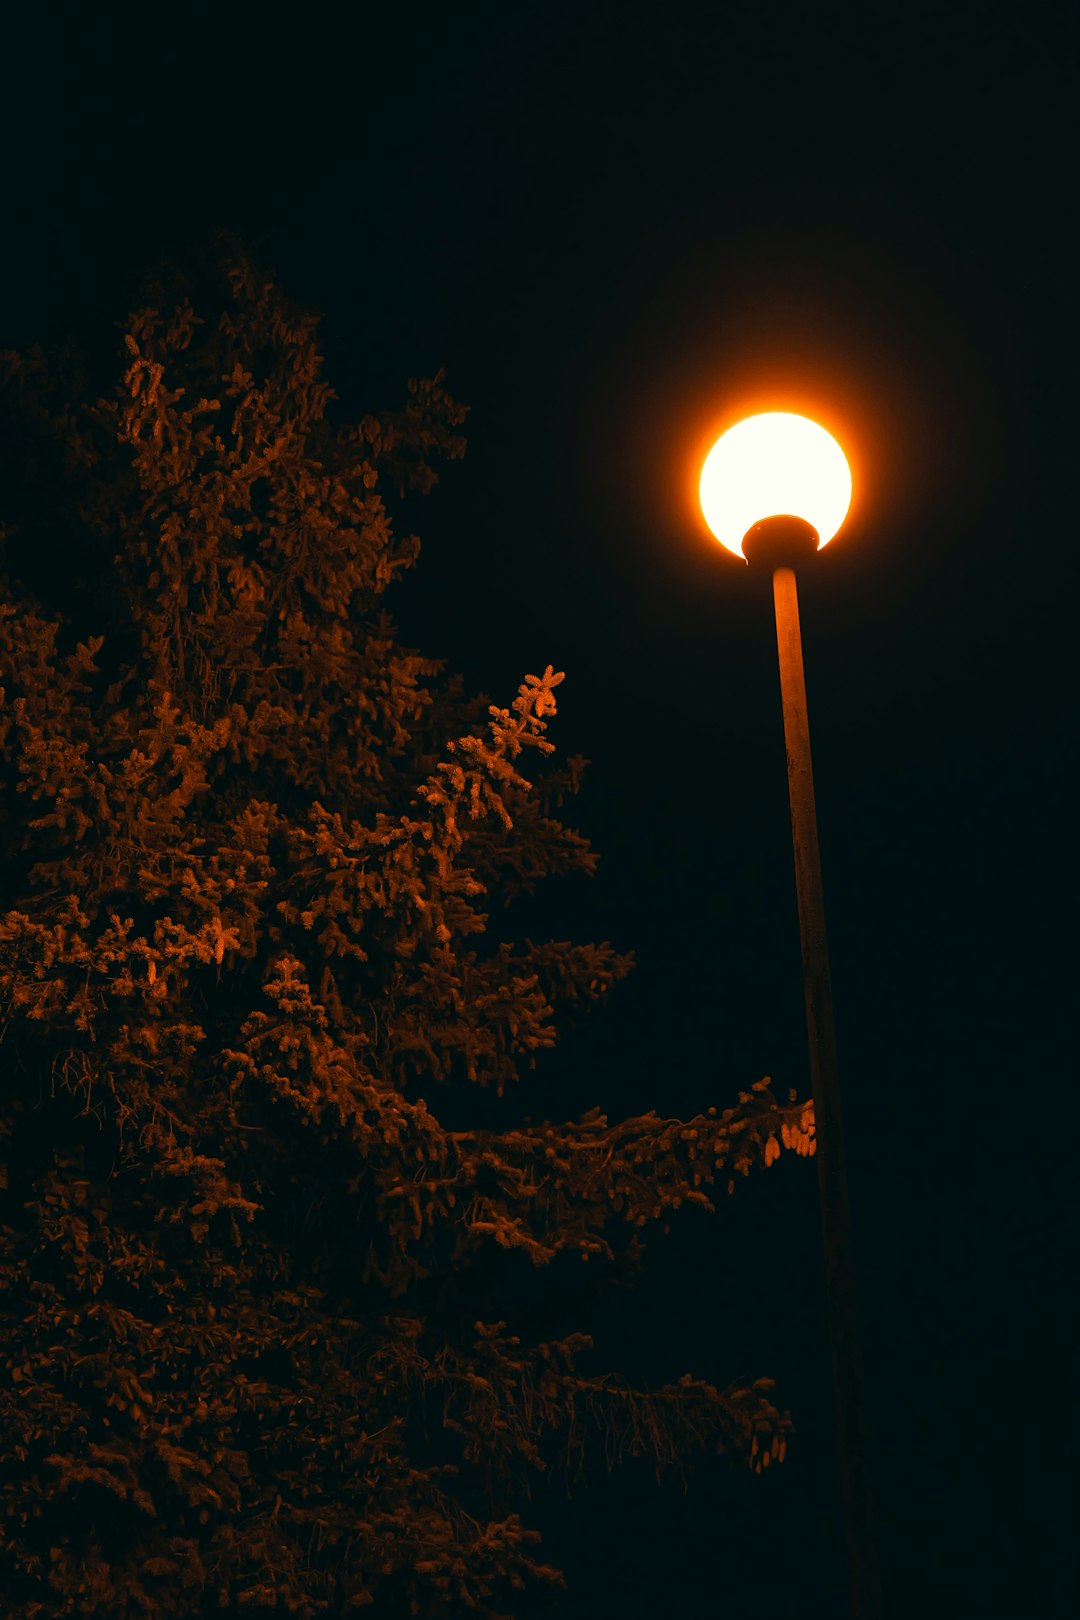
Backlighting Creates Professional Separation
Professionals routinely place lights behind their subjects to create “rim lighting” or “hair light” that separates the subject from the background. This technique prevents the flat, pasted-on look that identifies amateur photography immediately. Hair lights specifically illuminate the edges of a subject’s hair, creating a subtle glow that adds three-dimensional depth to two-dimensional images. Professional video production always includes backlighting because it makes subjects “pop” visually from their environments. The technique works because human vision naturally focuses on the brightest areas of an image – rim lighting exploits this biological tendency to direct attention exactly where the photographer wants it.
Flag and Barn Door Precision Makes the Difference

Professional lighting setups use “flags” (black panels) and “barn doors” (adjustable metal flaps) to control exactly where light falls and where it doesn’t. These tools cost under $100 but create the precise light control that separates professional work from amateur attempts. Flags block unwanted light spill, while barn doors shape the light beam itself. Commercial photographers flag lights off walls, products, and backgrounds to eliminate distracting reflections and maintain clean, controlled lighting. The ability to subtract light selectively is often more important than adding it – a concept that amateur photographers rarely grasp but professionals consider fundamental to their craft.
Did you expect that mastering light could be broken down into such specific, learnable techniques?

Kelly Westler is a celebrated designer and author specializing in bold, eclectic interiors. Her book The Art of Spaces showcases her signature mix of colors, textures, and vintage influences, inspiring homeowners to embrace fearless design.